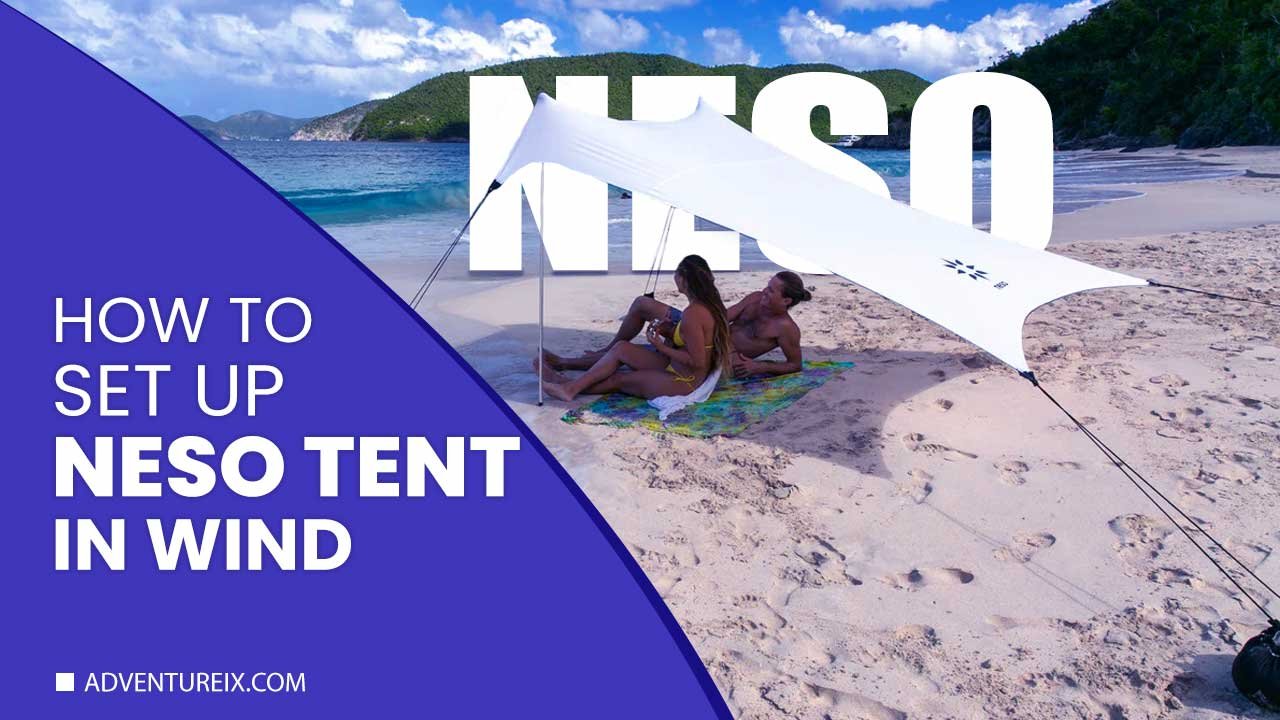
Some people enjoy the beach and set up their tents to enjoy the view. However, if you have been to the beach before, you will recall how windy it gets, making it difficult to set up tents successfully. Nevertheless, we will introduce you to the Neso tent and how to set up Neso tent in wind. Keep reading to find out more.
How can you set up Neso tent in wind?
In learning how to set up Neso tent in wind, it must be noted that this tent is both spacious and very comfortable to be taken to the beach. They are ideal for outdoor activities if you want to take them hiking or camping.
Its windproof and waterproof fabric will keep you comfortably dry even in terrible windy conditions.
However, in cases where setting up a tent when the wind blows heavy is complicated, one can easily get it done with the Neso tent.
Bear in mind that if you want to avoid issues with the wind when learning how to set up Neso tent in wind, you will need to follow the instructions, or it will collapse in your face.
Although setting this tent up may be a tiny learning curve, we promise that it gets easier in no time. The steps to follow easily are:
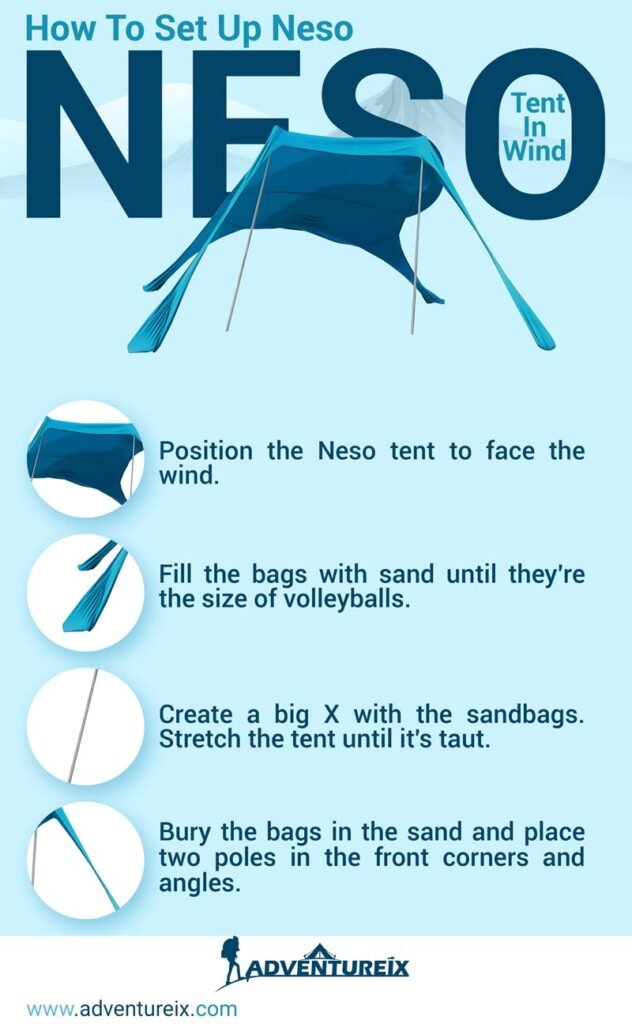
- Position the tent in a way that it faces the wind
- Once it is positioned, fill your bags with sand until it assumes the size of volleyballs.
- The bags should be pulled away from one another to create a big X. When this is done, you must stretch your fabric until it gets taut.
- Bury the bags in the sand before you place two poles in the front and angle corners.
The setup process is easy but its not instantaneou like the best pop up tents. Just like setting it up its quite easy to break down when you leave the beach.
Learn to fold a pop up tent from us as well.
All you have to do is to empty the sand you placed in the bags, then fold your two poles. Next, fold your canopy, then stuff your belongings into its bag.
It comes with a carry bag which has a handy strap. You need to slide the strap over your shoulder and then use your free hands to transport all the other things you brought to the beach.
All of our steps are easy but a more explanatory step on setting up Neso tent goes like this:
When you get to the beach and bring out all the materials needed to set up the Neso tent, you are to follow the instructions to the letter. This means that the first thing you have to do is to lay the tent flat.
As you lay it flat, stretch each of its anchor bags as far as you can to make a giant X. While the bags lay flat, fill them with plenty of sand until they overflow.
When this is done, pull the nylon rope of your bag to cinch the anchor bags to close them. Again, the bags should be pulled outwards to ensure your nylon/lycra canopy fabric is taut.
Doing tent stretching is a vital step of how to set up a Neso tent in the wind. It build a downward pressure on your aluminum poles.
And this, in turn, will help keep them wedged between the fabric and sand.
You must also connect the poles and prop up two corners of your Neso tent cautiously. Note that the poles must be one foot towards the middle from the corners.
This is done to relieve tension on its corner construction and give stability. Interestingly, you will have to position the pole to stabilize the tent when the wind blows.
You will get this done by positioning the aluminum poles to face the wind. With a south bound wind you need to place the poles at the sound corners of the tent.
All of this will help prevent the poles’ buckling while the tent remains stabilized. Remember that you are to place the poles on the exact side of the canopy that the wind comes from.
Tips for stabilizing the neso tent in windy conditions
Some of the tips you should bear in mind when learning how to set up Neso tent in wind are:
- Your tent will function best when you make the anchor bags very heavy and completely stretch the fabric before positioning the poles.
- Since the fabric is crafted to stretch, you can pull apart the anchor bags in stretching out the tent while making the X.
- Even when you think that your anchor bags are full, add some more until it overflows.
- As you might already know, the poles should be placed on the side that the wind comes from so that the wind will flow underneath instead.
- Your poles should be angled slightly so that force of the wind will be braced. This means digging a small hole for the bracing or burying of your sandbags.
All about neso tent
Now that you have learned how to set up Neso tent in wind, you must know that this is a highly portable canopy that one can take to the beach. It was crafted in sunny California and provides top-notch sun shelter.
Its portability is not a joke as it can fit into your suitcase and weighs a tiny four pounds. As stated, it was created from water-resistant fabric and had UPF 50+ protection.
This means that as it provides shade to protect you against the sun, it will also block out roughly ninety-eight percent of the sun’s harsh rays. So, in other news, you will not get burned when you get to the beach.
As a lightweight tent, it gives excellent sun protection and will stand against the wind no matter how windy it gets. The Neso tent is worth the price you pay for it as it gives an effortless setup.
More so, you will love the reinforced corners as they can secure your tent in one place without getting blown away like other tents.
Meanwhile, its substantial interior space makes it ideal for a beach day with family or close friends.
Frequently Asked Questions(FAQs)
Is the Neso tent worth the money?
Yes, it is. And although it is not cheap, it gives you your money’s worth as it comes in heavily durable and made with quality materials.
Can I use my Neso tent on the grass?
Aside from placing it on the beach, you can put it on your grass lawns. The setup on your grass will be, at most, five minutes.
Conclusion
At this point you know how to set up Neso tent in wind. So go to your favorite beach and set it up on your own. However, ensure you read through correctly to avoid mistakes and the tent collapsing.